
How to Play Keep the Door Locked
Learn to observe first, respond second, and survive the hotel room after midnight.
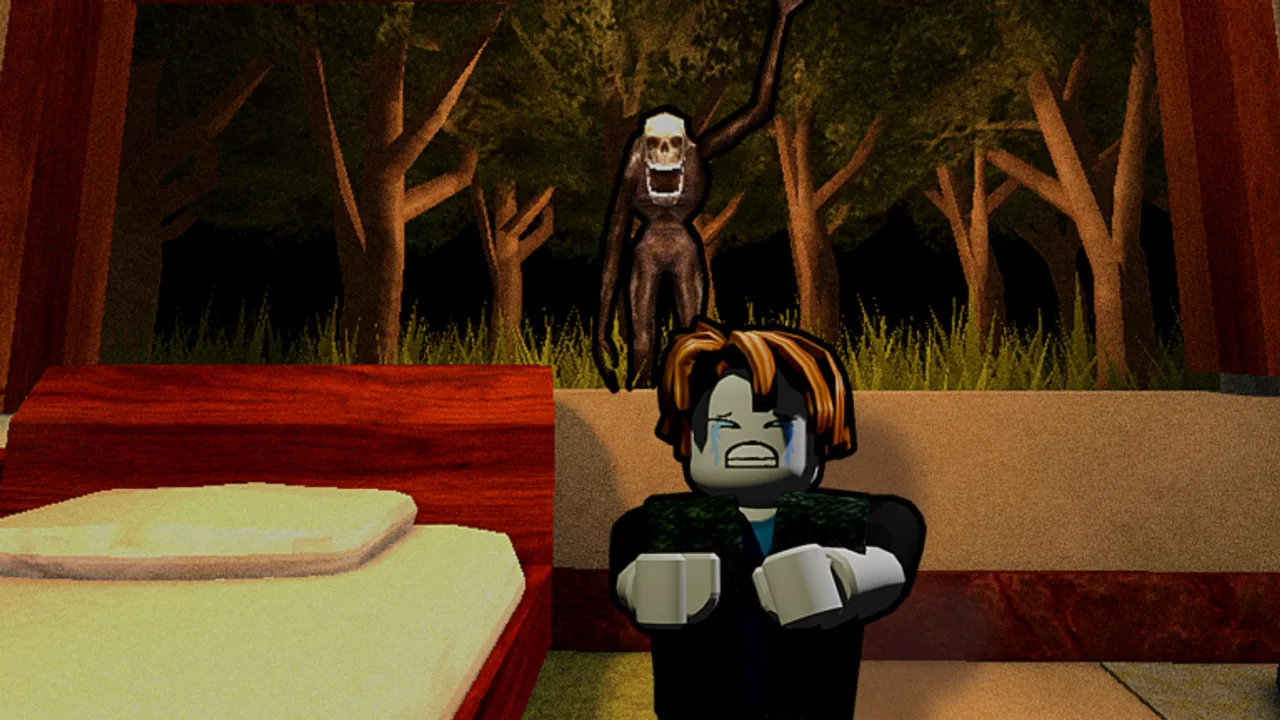
What kind of Roblox game is this?
Keep the Door Locked is a free Roblox horror-survival experience made by Hotel Room Services. You are in a hotel room after midnight, not moving through a shared maze. The core tension is deciding what to do when someone or something demands your attention. A knock, a voice, a camera image, or a change in the room may be ordinary—or it may be the test that ends the run. It is a separate game from LSPLASH’s DOORS; use guides for this room and its visitors, not advice meant for the other game.
Badge evidence supports five ending routes: survive 10 days, find a golden skeleton, accept the strange grandma key, trust the katana visitor (Ending 4), and trigger the Blood Moon Ending (Ending 5). Do not approach your first session as a speedrun to every badge. First build a method for staying alive, then use later runs to examine anomalies and endings.
Learn the basic loop
Start each moment by asking what changed. Someone knocking is a change. A person seen through the camera is a change. A window, toilet, shadow, or hidden figure behaving differently is a change. The game gives you a contained room precisely so small details are readable if you slow down.
Your repeatable loop is:
- Notice the trigger without immediately interacting.
- Check the available visual evidence, especially the camera when the door is involved.
- Compare the visitor or event with any rule or pattern you have observed.
- Choose the smallest safe response.
- Confirm that the immediate danger has passed before chasing a secret.
This is not a promise that every event has one visible tell. Some mechanics are intentionally mysterious, and badge names do not provide complete documentation. But a consistent inspection habit prevents the most common failure: opening the door because the knock itself created pressure. For a more detailed checklist, see Camera and Door Decisions.
Use your room deliberately
The controls are simple enough to learn quickly, yet a rushed input can create a costly commitment. Spend an early, low-pressure run locating every interaction point you can safely reach. Work out how you look at the camera, approach the door, inspect the window and bathroom area, and equip or use an item. Controls is the practical reference for that orientation pass.
Do not click through an interaction just because it is available. In a decision game, access is not advice. Opening the door, watching an anomaly too long, or forcing an object toward a late stage may all have consequences. Badge evidence makes this especially relevant for the window’s stage 3 (Three Strikes) and the toilet’s second-to-last stage (Flush of Fear). Those names suggest useful investigation targets, not a guarantee that escalating them is safe on every run.
Keep the door decision separate from curiosity
When a visitor arrives, your first goal is survival, not collecting every possible scene. Use the camera. Listen to what is being claimed, then check whether the image and situation agree. If they do not, treat the inconsistency as meaningful. The Rules Explained page helps structure this reasoning without pretending that a fully verified rulebook exists.
A good first-run policy is conservative: do not admit an unknown visitor merely to see what happens. Record mentally what you saw, survived, and ignored. Later, once you recognize the safer rhythm, you can dedicate a run to a specific branch. This is also how to approach optional badge leads such as Kindness, Juan, and What the Dog Doin’: discover the condition carefully instead of mixing it into an important ten-day attempt.
Treat sanity as a survival condition
The Losing It badge confirms that sanity can hit zero. It does not, by itself, prove every cause of sanity loss or the exact UI thresholds. Still, you should act as though stressful encounters and reckless anomaly exposure can make a run harder. If the room feels increasingly distorted, stop experimenting. Resolve the next immediate threat, check your surroundings, and return to a familiar routine. Read Sanity Guide before attempting prolonged secret hunts.
This matters because a low-sanity state may leave less room to recover from a door event. It is better to end a curiosity attempt early than to carry an unstable state into a night where the door breaker or shadow figure appears.
Choose a goal for each run
Once the loop makes sense, pick one objective. For the normal survival route, prioritize surviving all 10 days. For a threat-specific practice run, study Survive the Door Breaker or Banish the Shadow Figure. For secret routes, use Golden Skeleton Ending, Grandma Key Ending, Katana Ending, All Endings, and Dream Room. Avoid the traps listed in Common Mistakes.
One goal per run helps you tell why a result happened. If you simultaneously force the toilet anomaly, accept a suspicious visitor, spend money, and search for an Easter egg, you will not know which action advanced the route. The Blood Money badge, for example, only confirms a 1,000,000-plus money milestone; it is not evidence that spending or hoarding money controls every ending.
What not to rely on
Active promo codes are listed on the Codes hub and redeem only through the left-side CODE button. Do not trust DOORS codes, generators, or executors. This guide also does not invent a secret command or guaranteed spawn rate. If an answer is only suggested by a badge, it is labeled as such. Reliable progress comes from observation, conservative choices, and repeating a controlled test—not from a confident-sounding rumor.
Frequently Asked Questions
Quick answers about the hotel room, visitors, and endings.
What is the main goal in Keep the Door Locked?
Ending 1 is earned by surviving 10 days. Badge evidence also supports golden skeleton, grandma-key, katana-trust, and Blood Moon ending paths.
Should I open the door when someone knocks?
Do not decide from the knock alone. Check the camera and compare what you see with the situation before committing.
Does the game have multiplayer?
It is presented as a single-player hotel-room experience. There is no confirmed multiplayer mode.
Are there any working codes?
Yes. Active codes are listed on the Codes hub and redeem through the left-side CODE button. Avoid DOORS codes and external generators.